markc
Junior Member

Posts: 78 
inherit
1120
0
Sept 28, 2019 15:41:31 GMT
2
markc
78
Jul 21, 2014 10:32:15 GMT
July 2014
markc
|
Post by markc on Jul 28, 2014 10:10:40 GMT
|
|
inherit
MODERATOR BOSS
75
0
1
145
gingerrich76
1,838
Aug 15, 2011 20:39:54 GMT
August 2011
gingerrich76
Global Moderator
|
Post by gingerrich76 on Jul 28, 2014 11:42:48 GMT
Excellent work.
|
|
markc
Junior Member

Posts: 78 
inherit
1120
0
Sept 28, 2019 15:41:31 GMT
2
markc
78
Jul 21, 2014 10:32:15 GMT
July 2014
markc
|
Post by markc on Jul 28, 2014 11:59:56 GMT
|
|
inherit
AceBoard Veteran
10
0
1
18
grifterste
1,368
Jun 11, 2011 23:52:14 GMT
June 2011
grifterste
Global Moderator
|
Post by grifterste on Jul 28, 2014 16:12:44 GMT
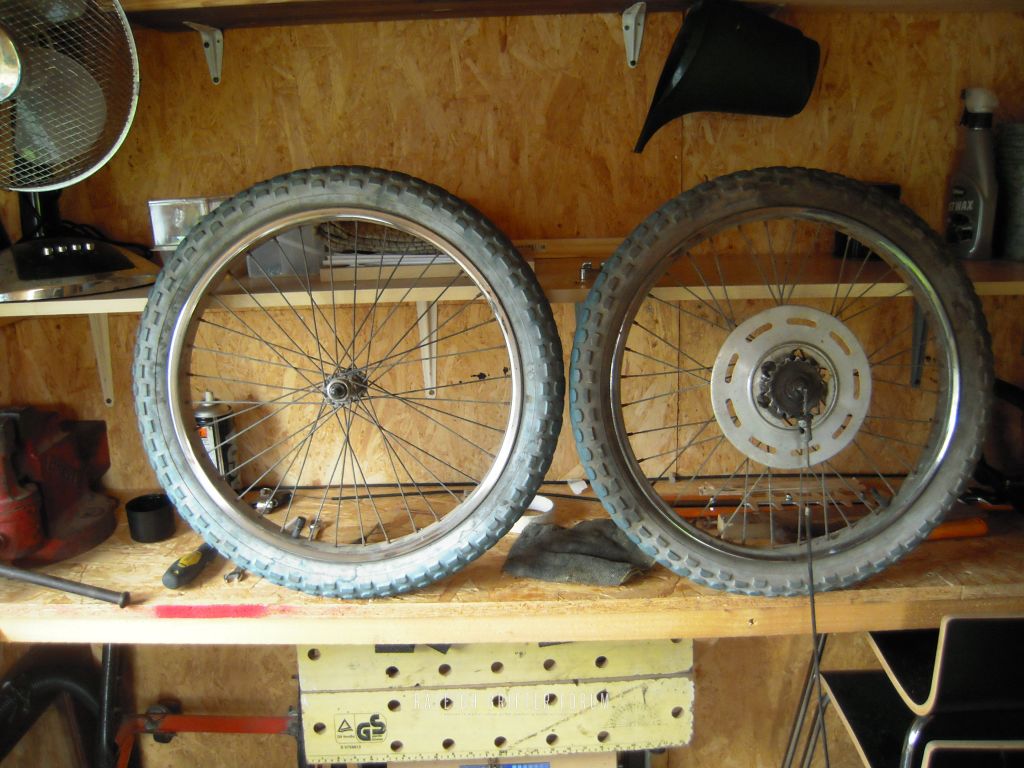
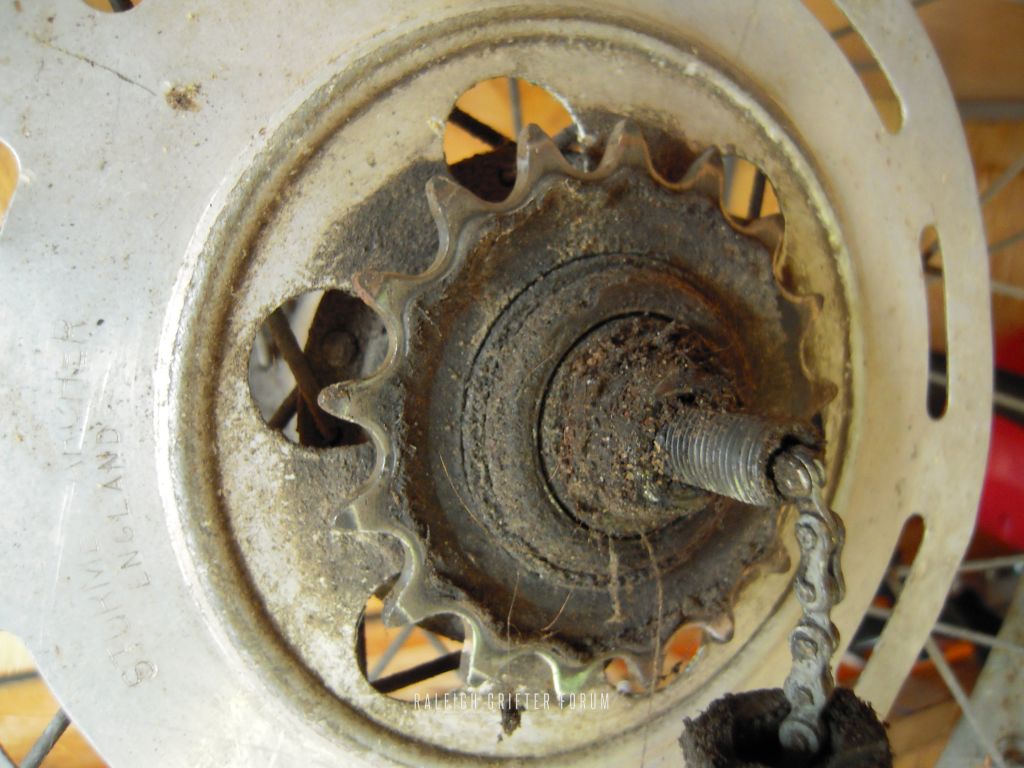
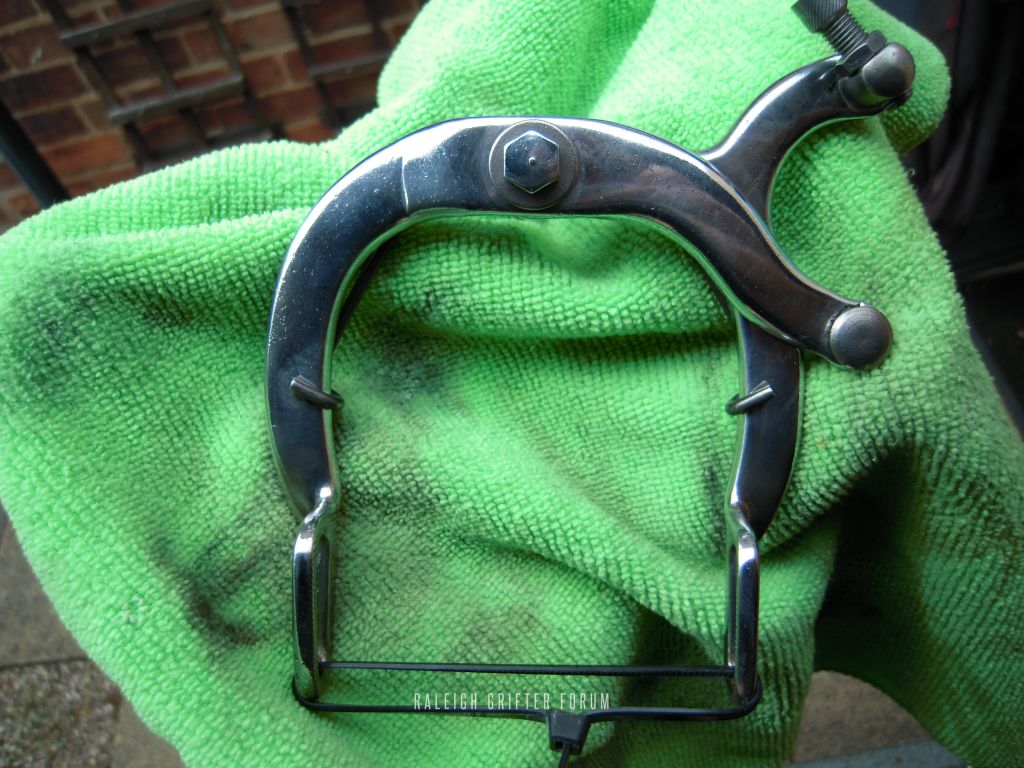
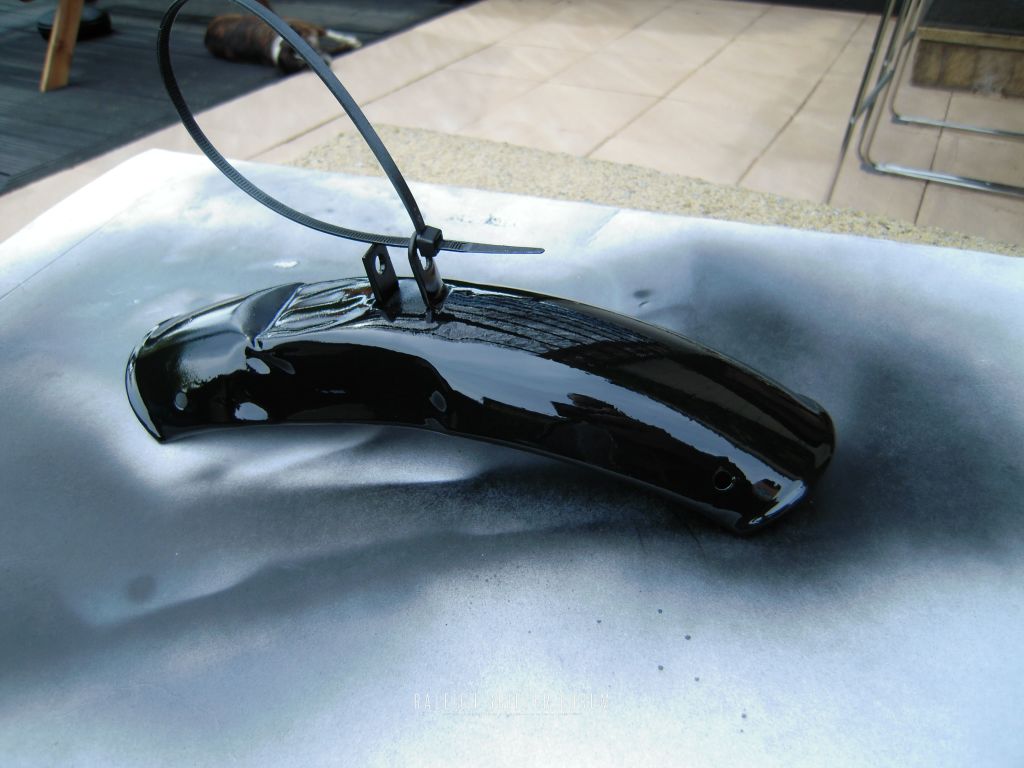
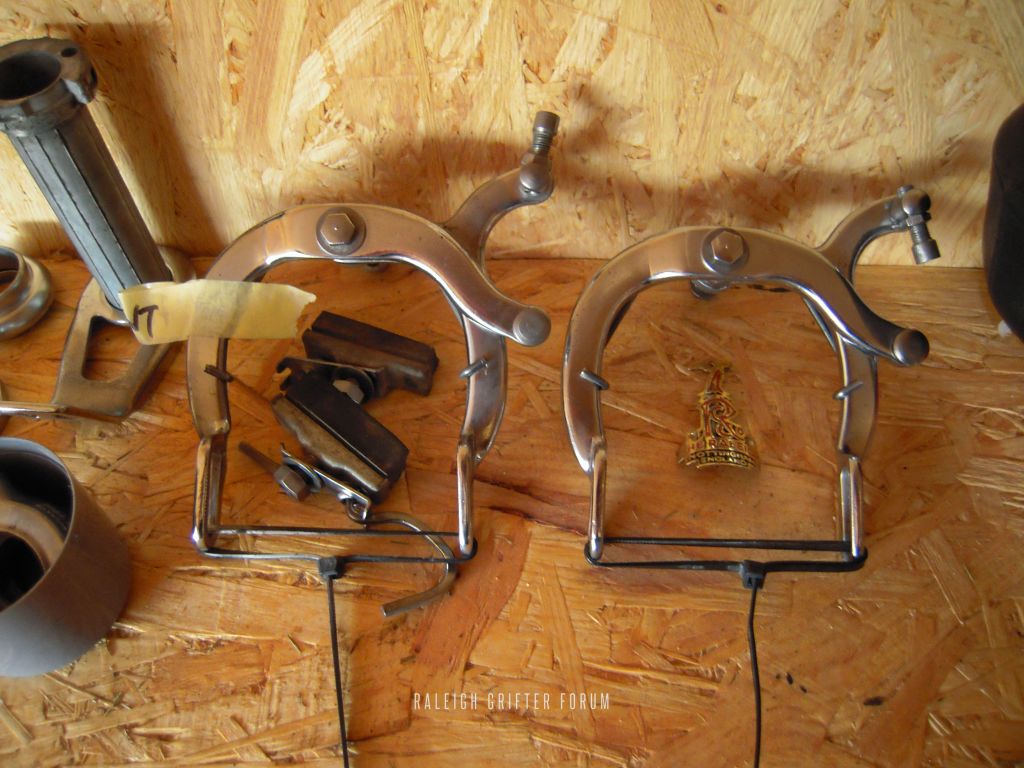
looks like you're getting stuck right into it. always amazes me just how well these old parts clean up. keep up the good work  |
|
inherit
555
0
1
30
4737carling
642
Dec 15, 2013 17:27:51 GMT
December 2013
carling
Global Moderator
|
Post by 4737carling on Jul 28, 2014 20:46:53 GMT
Top work so far and like Steve says its amazing just how well old school parts clean up! (Shows you they were built to last in those days) Looks like you need to replace a few bits and pieces but not much. Looking forward to seeing the next stage of your resto.  |
|
markc
Junior Member

Posts: 78 
inherit
1120
0
Sept 28, 2019 15:41:31 GMT
2
markc
78
Jul 21, 2014 10:32:15 GMT
July 2014
markc
|
Post by markc on Jul 30, 2014 8:07:58 GMT
|
|
inherit
125
0
Jul 30, 2019 22:08:14 GMT
40
raleighdaz
1,389
January 2012
raleighmad
|
Post by raleighdaz on Jul 30, 2014 8:38:11 GMT
Looking good bud keep the pics coming
|
|
markc
Junior Member

Posts: 78 
inherit
1120
0
Sept 28, 2019 15:41:31 GMT
2
markc
78
Jul 21, 2014 10:32:15 GMT
July 2014
markc
|
Post by markc on Jul 30, 2014 9:09:44 GMT
Looking good bud keep the pics coming Thanks pal, will do. |
|
inherit
555
0
1
30
4737carling
642
Dec 15, 2013 17:27:51 GMT
December 2013
carling
Global Moderator
|
Post by 4737carling on Jul 31, 2014 18:49:17 GMT
Great work so far, looking forward to seeing this one progress.  |
|
inherit
AceBoard Veteran
10
0
1
18
grifterste
1,368
Jun 11, 2011 23:52:14 GMT
June 2011
grifterste
Global Moderator
|
Post by grifterste on Jul 31, 2014 19:19:01 GMT
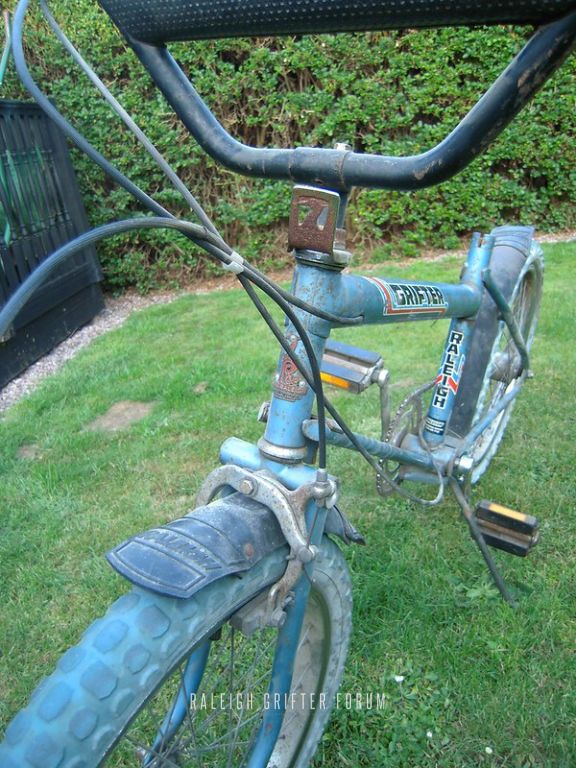
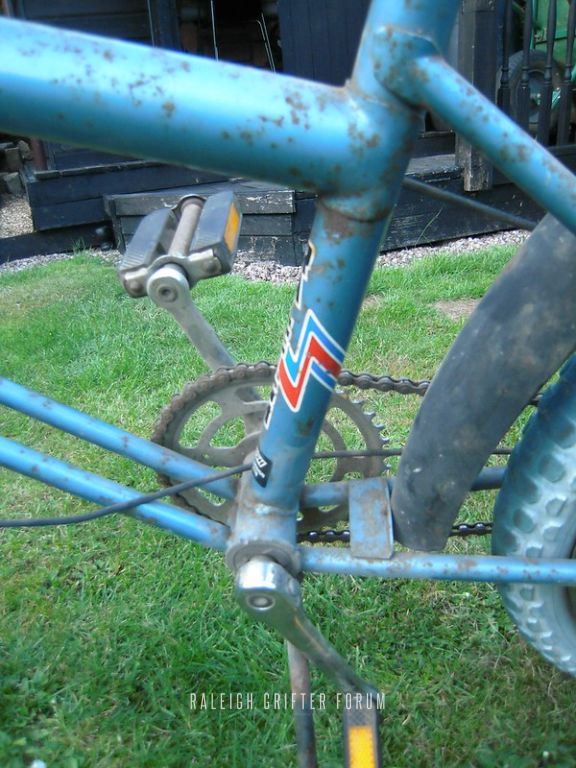
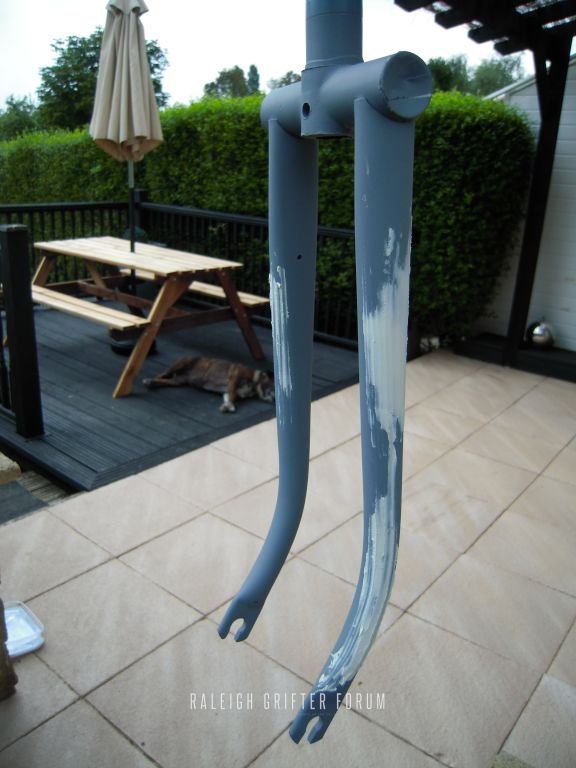
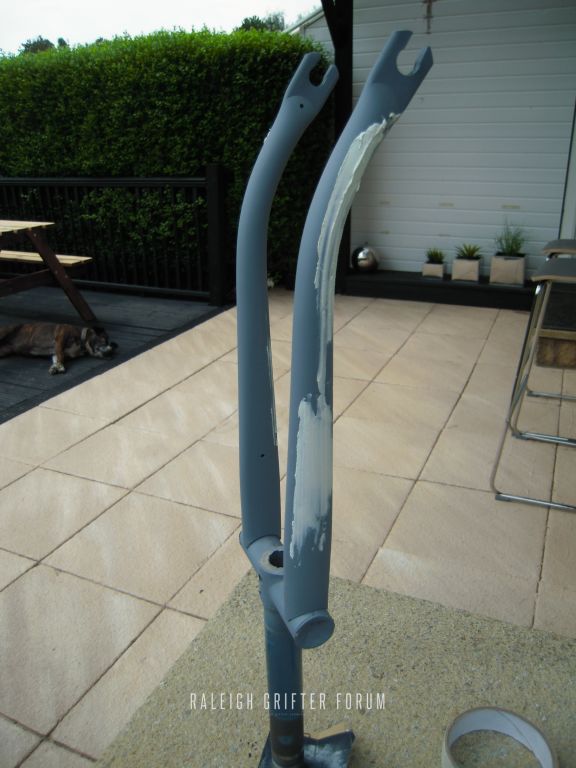
i agree with daz and wayne, from your pics it looks like you've not removed the stand though ? if you've gone this far with it i'd suggest removing it before you get it painted. after all it's no more tricky than what you've already done stripping it down but the end result will be just that little bit better  |
|
markc
Junior Member

Posts: 78 
inherit
1120
0
Sept 28, 2019 15:41:31 GMT
2
markc
78
Jul 21, 2014 10:32:15 GMT
July 2014
markc
|
Post by markc on Jul 31, 2014 21:08:10 GMT
i agree with daz and wayne, from your pics it looks like you've not removed the stand though ? if you've gone this far with it i'd suggest removing it before you get it painted. after all it's no more tricky than what you've already done stripping it down but the end result will be just that little bit better  Thanks for the advice grifterste, I had mixed views on removing the stand before getting it blasted/painted, I've seen a thread on a resto where the stand was masked up for painting so thought it'd be an adequate way to go about things, also do you not need a special 'sleeve' type tool to remove the spring etc..? I'm More than happy to remove the stand if it's a DIY task. |
|
inherit
MODERATOR BOSS
75
0
1
145
gingerrich76
1,838
Aug 15, 2011 20:39:54 GMT
August 2011
gingerrich76
Global Moderator
|
Post by gingerrich76 on Aug 1, 2014 4:53:36 GMT
I beleive there is a thread on stand removal. .... never done it myself.
Been awhile since we had a full restoration on the furum. Keep up the excellent work and pic's :-D
|
|
markc
Junior Member

Posts: 78 
inherit
1120
0
Sept 28, 2019 15:41:31 GMT
2
markc
78
Jul 21, 2014 10:32:15 GMT
July 2014
markc
|
Post by markc on Aug 1, 2014 7:28:50 GMT
I beleive there is a thread on stand removal. .... never done it myself. Been awhile since we had a full restoration on the furum. Keep up the excellent work and pic's :-D I'll have a search for it. And thank you. |
|
markc
Junior Member

Posts: 78 
inherit
1120
0
Sept 28, 2019 15:41:31 GMT
2
markc
78
Jul 21, 2014 10:32:15 GMT
July 2014
markc
|
Post by markc on Aug 1, 2014 9:38:21 GMT
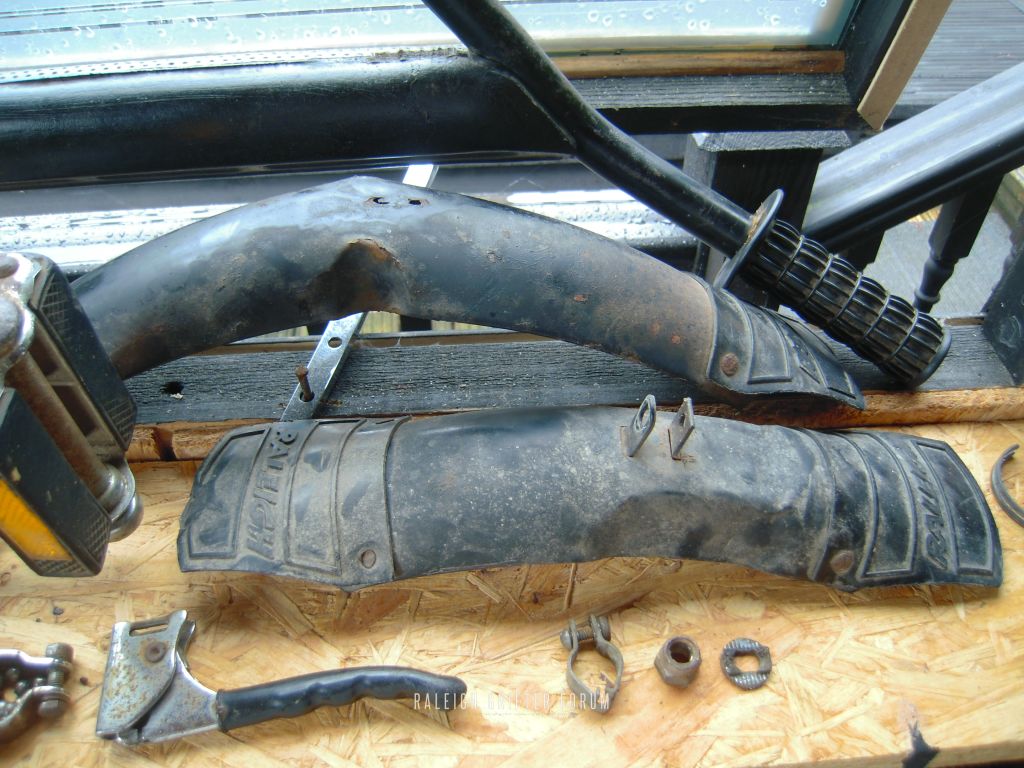
So, I came across the problem of the mudguard flaps and how they aren't in the greatest condition (in fact the two on the front are half missing) and now I've repainted the actual mudguard, the flaps look worse against them. So.....the idea: I work in the Graphic Design trade, so I thought I'd put my profession to use. Instead of spending hours (and money) looking for a set of flaps (that probably wouldn't be much better than mine....unless I found NOS) I decided to recreate a set on the computer. Step 1: I scanned in one of the flaps (the best one of the three) then redrew the shape, design, and logo in Adobe Illustrator: 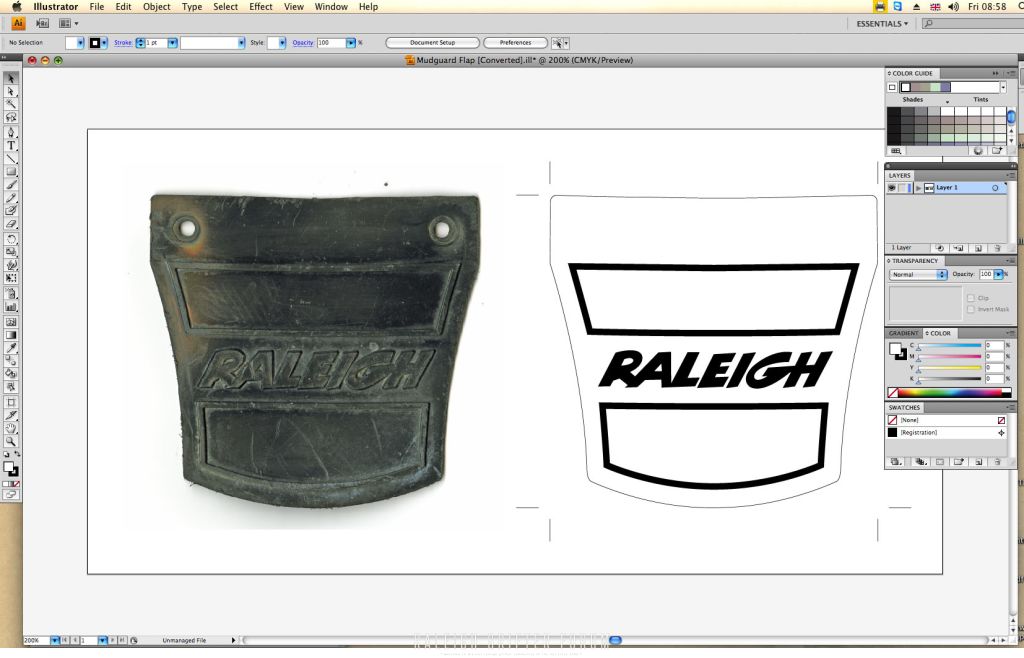
Step 2:
I sent the design through our software at work to the platemaking department (we make flexographic printing plates for the label/packaging industry) who then produced me a set of plates with the embossed design:
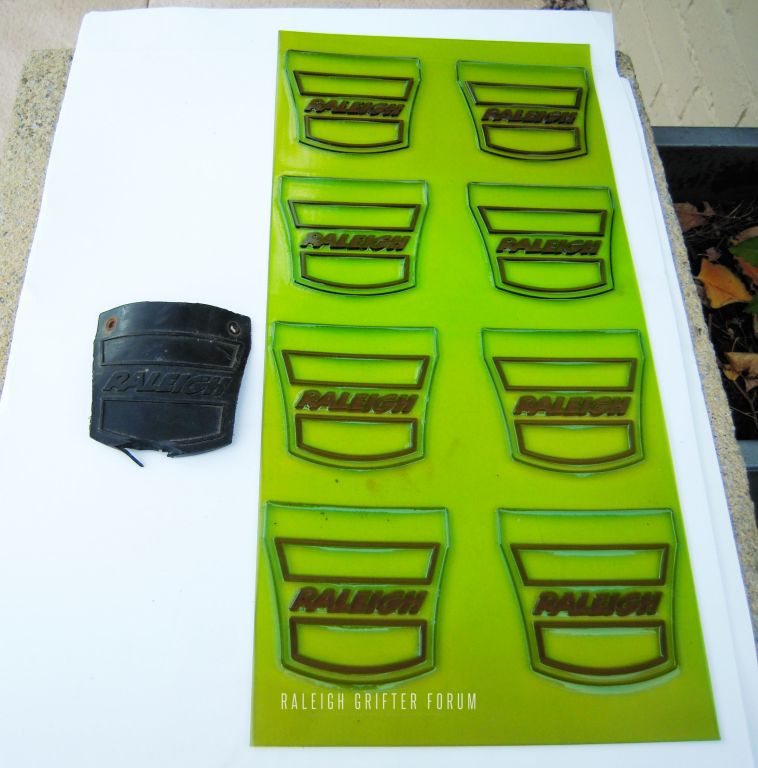
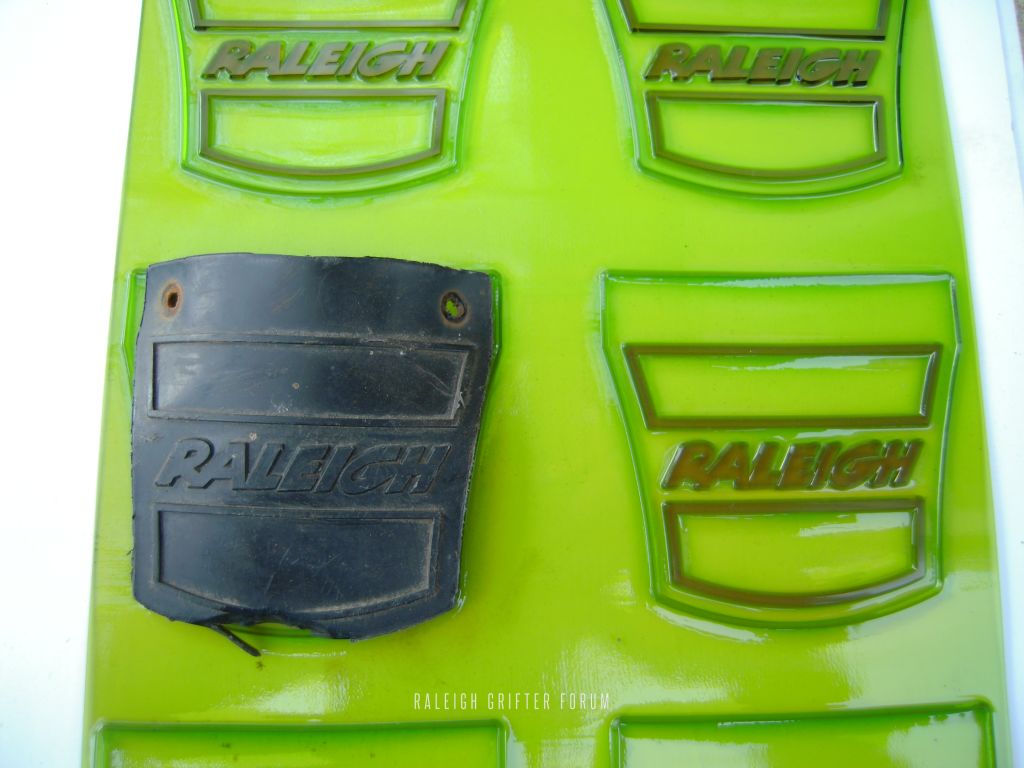
Step 3:
Use the raised outline to cut around the plate with scissors, then tidy up the edges:
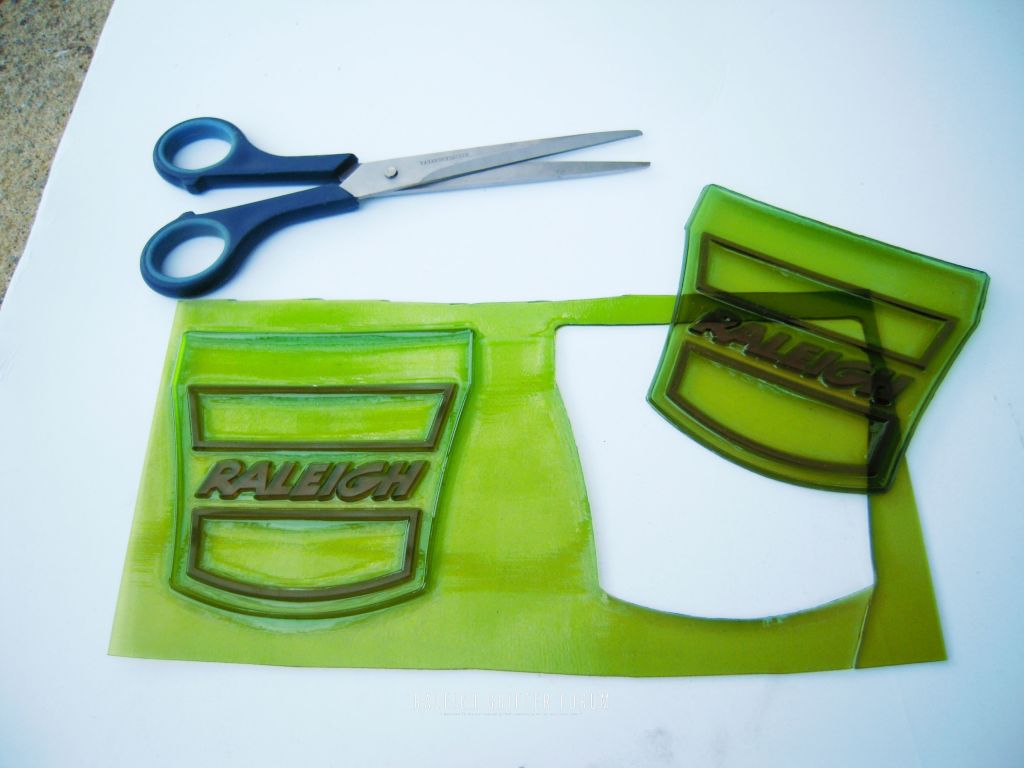
Step 4:
Spray paint the plate with black paint (I lightly dusted the spray so as not to build up layers of paint which may crack when the flap is bent or twisted).
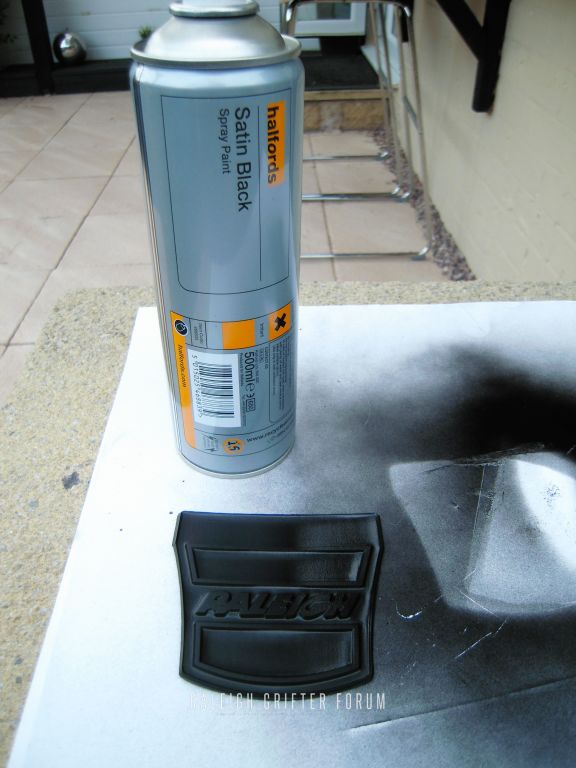
Original flap vs fabricated flap:
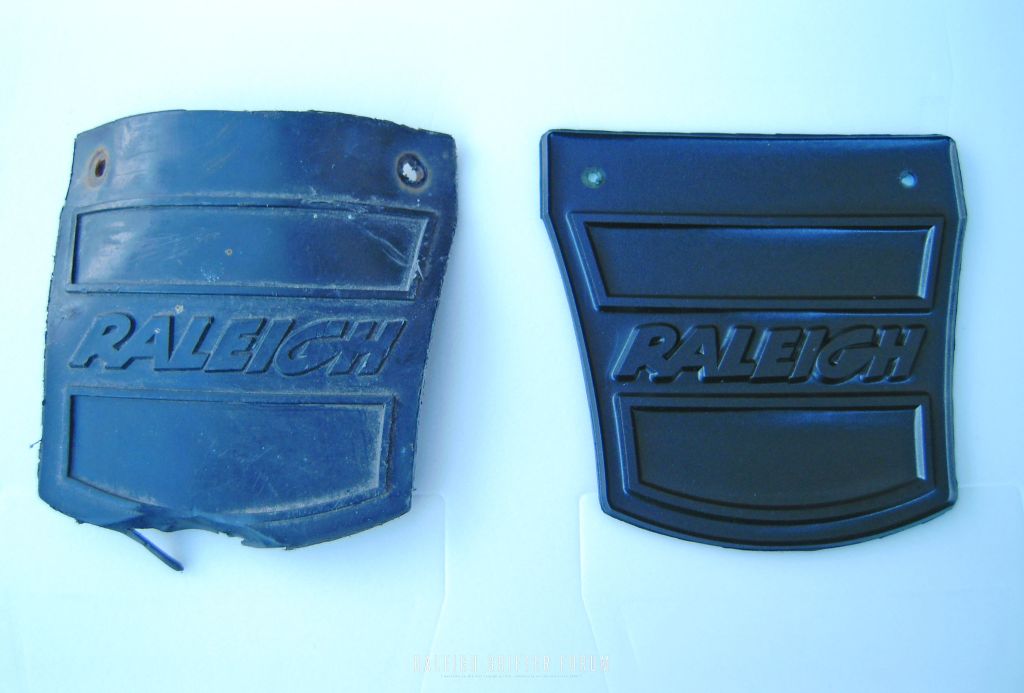
Step 5:
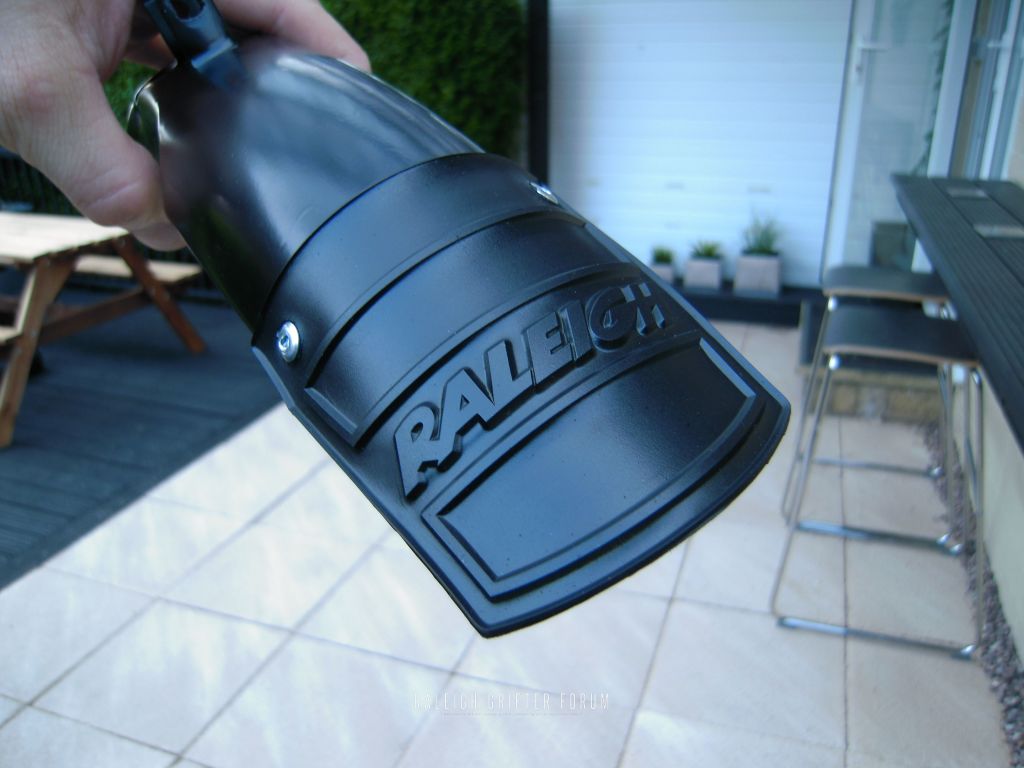
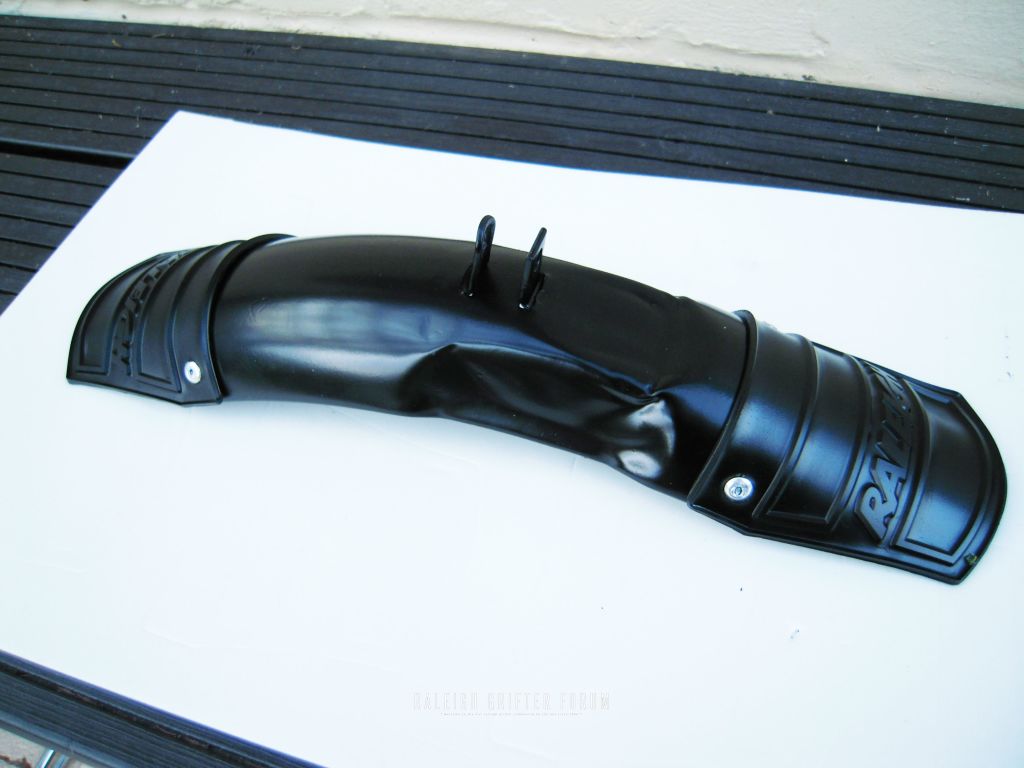
Get out the pot riveter and attach the flaps to the mudguard (the original rivets were rusted beyond repair so I used these alloy pot rivets, I thought about painting the rivets black but I actually like the 'retro riveted' look so I'll leave them unpainted).
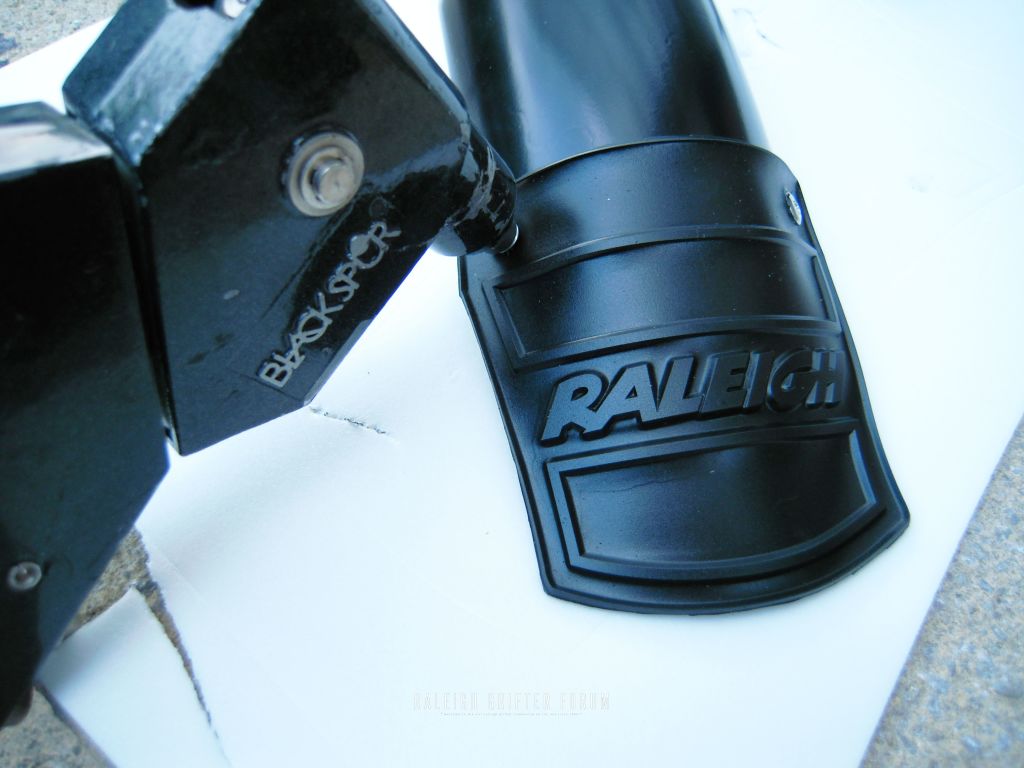
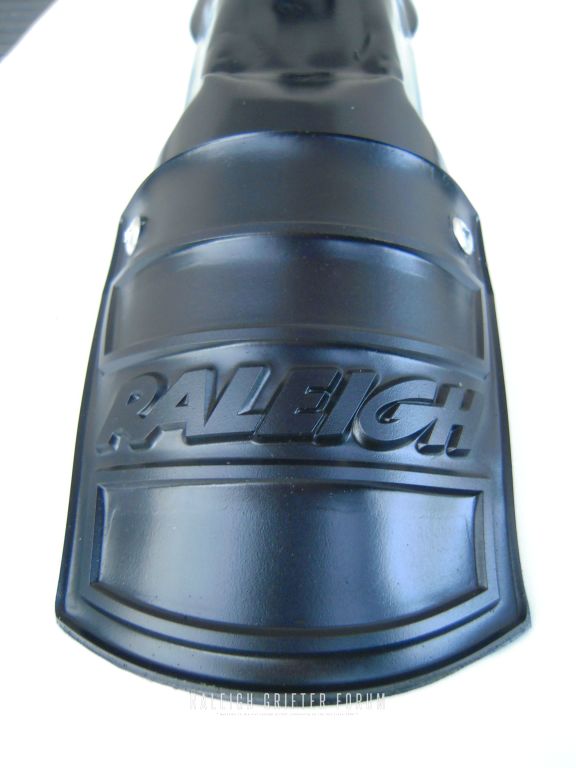
Result:
Et voila!! Not an original part but a pretty close reproduction and a lot better looking than the original scuffed flaps:
Conclusion:
I'm pleased with the result, however I think I need to invest in some Plastidip flexible paint as the flap is quite flexible and I can foresee the paint flaking off with even a small amount of agitation, I'm not planning to give this bike any considerable amount of hammer once it's done so the flaps should remain safe, though for longevity I think I need to go down this route just to make a proper job of it.
Cheers. Mark. |
|
inherit
MODERATOR BOSS
75
0
1
145
gingerrich76
1,838
Aug 15, 2011 20:39:54 GMT
August 2011
gingerrich76
Global Moderator
|
Post by gingerrich76 on Aug 1, 2014 11:38:55 GMT
Ooo. You could make a small fortune with them.... but would of got yourself the proper rivetts. Easy to fine and about 5 quid inc post for 7/8 rivetts. And very easy to fit too.
|
|


